Pre-season Planter Inspection
Updated January 1, 1 . AmFam Team
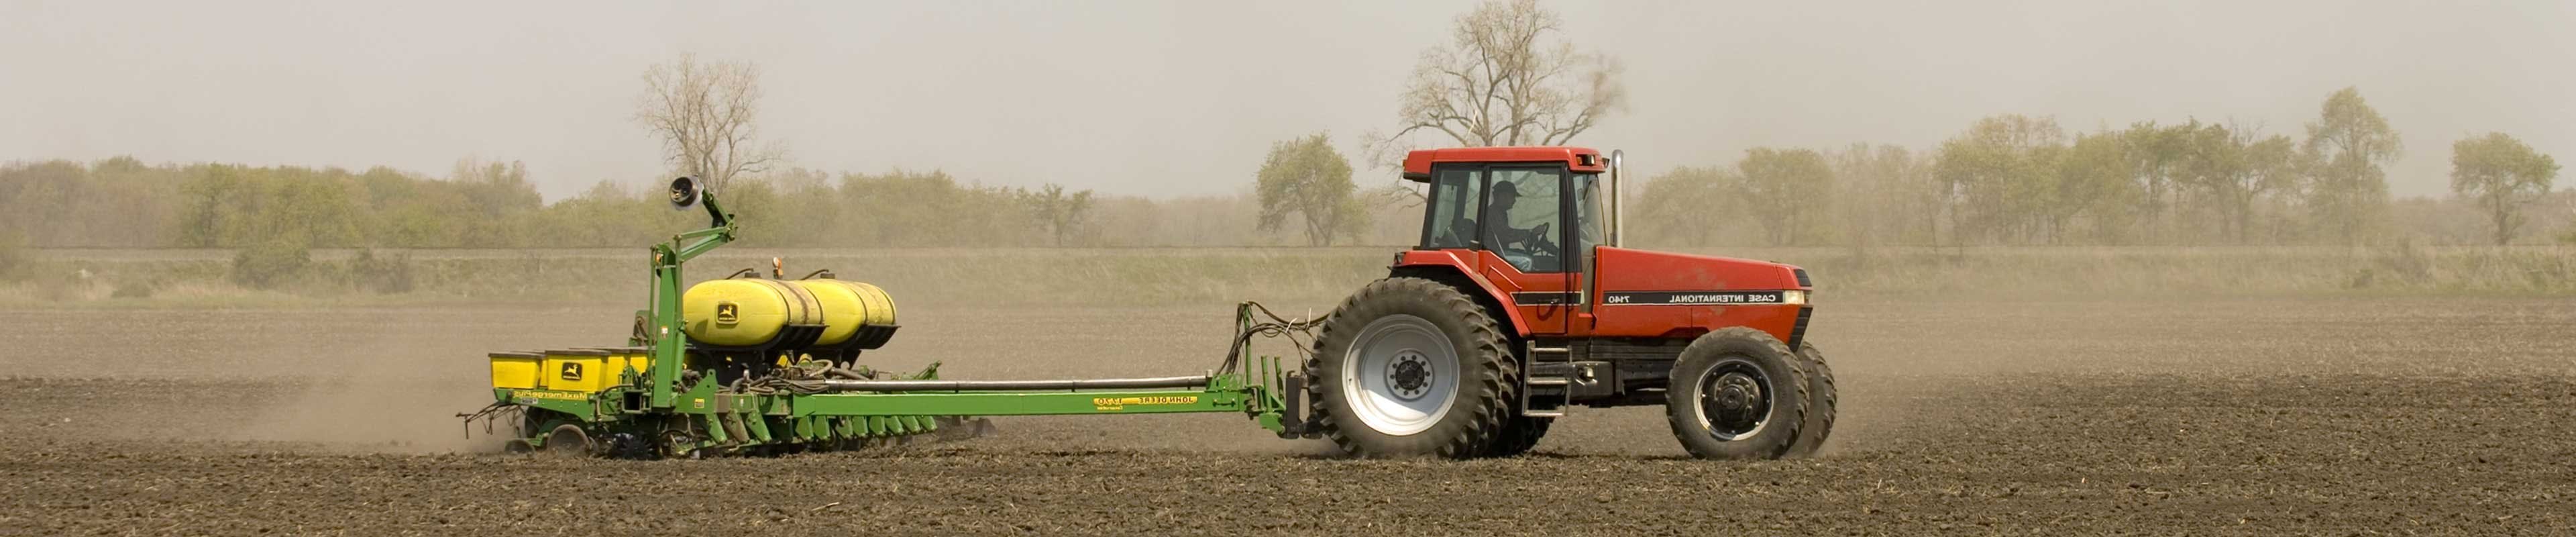
As planting season approaches, there are few items on your farm as critical to your operation’s well-being as your planter. Simple tasks like inspecting and maintaining your planter can pay off if you discover an issue that needs attention. Other tasks like pre-ordering spare parts that you know you’ll need soon instead of waiting for the piece to fail can seem like a small inconvenience, but sometimes little problems like these can hold up your planting process entirely.
Investing time to calibrate your planter and verify that the hydraulic and electrical systems are working well is another big step to help guarantee that everything is ready to go when you’re ready to plant. So take a look at this pre-season planter checklist and you may find more uniformity of your plants as they emerge this spring, and that can lead to a higher yield at harvest.
Getting Ready for Planting Season
Before heading to the fields, be sure that everything’s in working order. It's key to train your operators so that they know how to use this equipment safely. Here’s what you need to know to make the most of a safe planting season:
Check in with your key suppliers. A few quick phone calls to your suppliers can prevent delays and help to ensure everything you need — from seed and fertilizer to crop protection products — is on schedule and ready for pickup or delivery.
Inspect the planter from top to bottom. There’s a lot to think about when you’re looking at your planter. Review the user’s guide as a starting point, and verify that it’s all in working order.
Look at the tires. Be sure they’ve got good tread and are well inflated and rotating easily. This will help the planter stay level. And by looking at them now, you’ll be able to replace them or have spares on order before issues in the field halt your operations.
Get your planter level. First off, take a look at the height hitch. It can change from year to year if you’re using other tractors. Be sure the planter’s toolbar is level and tipped up a bit, as those pointing down tend to push the coulters too deep into the dirt and the closing wheels may run a bit too shallow to seal the seed in the soil.
Look at the parallel linkage and bushings. Replace those worn-out bushings now, and remember to order spare parts over the winter so you’ll have them when you need them. Bushings that are worn can increase row bounce, and your seeds are likely to bounce around as they’re being released too. Move the row unit up, down and side to side manually and be sure the bushings are tight.
Take a close look at the drive system chains. Check the tension on each chain, also making sure there are no kinks — these can shock and vibrate the meter. Replace worn chains and grease up the gearing. Remember to do the same to your transmission chains and pesticide box chains, and the meter drive chains too.
Adjust seed meters. A well-tuned meter can bring in higher yields. Look for signs of wear on seed belts and verify all parts are working well. Again, replace anything that doesn’t look right. Cleaning as you go through each meter is another best practice.
Inspect the depth wheels and double-disk openers. Disks will wear down with use and need to be replaced after they’ve lost more than half an inch in diameter. Look at your manufacturer’s guide to tell you when to replace them.
Check for seed tube issues. If you find wear along the bottom of the seed tubes, replace them. A poorly working or clogged seed tube can really reduce production and impact your bottom line.
Review your closing wheels. Here, you’re going to need a little boots-on-the-ground detail to get the closing wheels adjusted to your soil’s conditions. Take a test run with your seeder and be sure that the closing system will seal the seed well into the soil. Also, check the alignment on the closing wheels, verifying that they’re centered.
Watch your row cleaners in action. While you’re verifying closing wheel alignment, take a look at the row cleaners and be sure they’re doing a good job of gently moving crop residue out of the seed row. This will really help your seedlings to grow quickly and give those young plants a better chance at reaching maturity.
Lock in your planting plan. Plot out your field plans on a map, grouping by seed type and variety. Now’s also a great time to program your planter monitors and verify that they’re in working order.
Assign daily inspection duties. Delegate a worker to begin each day with a thorough inspection of your planting implements when they’re in use. Have the worker check all the systems, chains and lubrication points, belts and meters. This person should also review the tractor and be sure the battery and other critical parts are working well and in good repair. Creating and using an inspection checklist can help prevent overlooking a vital function.
Planting Season & Your Farm Insurance Check-in
With the hard work of inspecting and repairing your planter behind you, you’re in a better position to make the most of those warm spring days. As you’re tuning up your planting implement, contact your American Family Insurance agent (Opens in a new tab) to be sure your farm insurance is aligned with your business needs. You’ll know that your operation is insured carefully and you can get on with the important business of starting a new planting season.