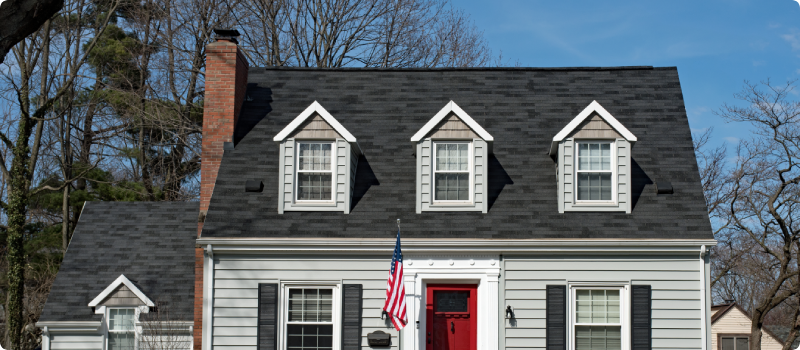
How to prevent chimney fires
Updated August 30, 2024 . AmFam Team
Is there anything more comforting than sitting around the fire with family and friends on a cold winter night? A well-cared-for fireplace can add a lot of quality of life to the living room as the temps dip down and the snow begins to fall.
Though it might be the last thing on your mind while you’re warming your toes, chimney fires can flare up with little warning if you’ve not taken steps to reduce creosote buildup on the lining of your chimney. And it’s not just wood burning fireplaces that pose a risk. Gas fireplaces can collect material on the chimney lining because some ceramic logs degrade over time and clog vents.
As your home’s fireplace season begins, here’s what you need to know to reduce the risk of chimney fires so you can relax and enjoy your fireplace all winter long.
What is creosote and how do chimney sweeps clean it out?
Creosote results when you burn carbon-based fuels in your fireplace, like firewood or gas. Creosote needs to be cleaned out every year in order to reduce the risk of it igniting. And fireplaces aren’t the only spot you need to watch.
There are three main degrees of creosote buildup:
First-degree creosote. Similar to wood ash, first-degree creosote is flaky soft soot. Knowing you’ll be cleaning your fireplace’s chimney every year, you’re best to use well-seasoned firewood since this type of buildup is easier to remove than the other kinds. It typically only needs a chimney brush to clean. Keep in mind, if your home is too well-sealed, you may find that the airflow out the chimney is restricted. This can result in smoke flowing back into your home. It also means that your chimney may not be warming up enough to assist the flow of air up and out of the chimney.
Second-degree creosote. Containing both the soft flakes found in first-degree creosote, you’ll also find thick areas of tar that look like shiny black flakes collected on the chimney lining. When glass doors are used with the fireplace, or in cases where exhaust airflow is reduced, second-degree creosote can gather. And cleaning it is trickier, as you might imagine. Chimney sweeps use a stainless steel cable connected to a hub of metal rods attached to a powerful drill that rotates the hub quickly and breaks this hardened material off the lining. Highly flammable, second-degree creosote should be taken seriously. Don’t use your fireplace until a sweep has cleaned this material away.
Third-degree creosote. When the buildup has reached stage three, it’s wise to consider replacing the lining of your chimney versus having it cleaned. This is because the amount of work it will take to clean it out may be more expensive than just replacing the lining. Third-degree creosote will look like tar running down the inside of your chimney lining. The real problem here is that this material is very quick to ignite. This degree of creosote buildup is most often the result of burning unseasoned firewood. Seasoned firewood has been dried to remove moisture from the wood so it burns more quickly at a higher temperature. That increased airflow through the chimney can reduce the collection of tar and buildup on the chimney lining.
Removing third-degree creosote is possible through a number of different ways. Similar to the cable and hub process above, those rotating metal rods are replaced with small lengths of chains that chip away at the buildup and clean it out. But it does come with some risk. The chains can crack chimney bricks, mortar and lining tiles, which can be very costly to replace. Another option for dealing with the problem is to break the creosote down with chemicals, which the sweep will usually provide.
The takeaway here: be sure you’ve got plenty of airflow through your fireplace, and clean your chimney lining annually to prevent third-degree creosote from gathering in the first place. For more great tips on staying safe at home this winter, take a look at our tips on fireplace safety and maintenance.
How to reduce creosote buildup in your fireplace
Even before it reaches a flammable state, collected creosote can slow down the flow of exhaust through your chimney, causing your fireplace to be less efficient. Another downside is that this buildup can insulate the lining of the chimney, preventing it from warming up, which can also reduce flow. Here are a few other ways to keep creosote levels down.
Burn a creosote sweeping log. Available at hardware stores, these logs contain additives when burned that attach to the existing creosote in your chimney and break down some of the tar and buildup, making it easier for the chimney sweep to remove the buildup later. These should never be used as a replacement to getting a sweep to inspect and clean, but can be used between cleanings.
Install a stainless steel chimney liner. This option is great when your chimney is unlined. If you have a decades-old chimney, it likely has cracks in the mortar, which can allow these fumes into living spaces. Stainless liners are flexible tubes that can make your home safer with a small up-front investment. The liner helps to direct noxious fumes from your fireplace out and away from living spaces. Insulating the outside of the tube before it’s installed will also help to keep the liner warmer, reducing creosote buildup that much more. It’s also easier to clean and easier to maintain.
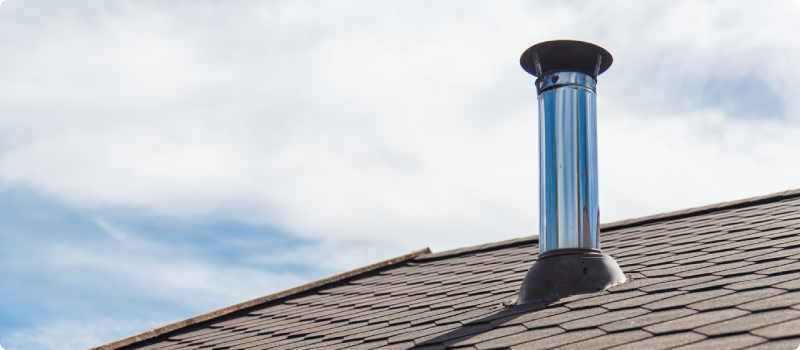
The importance of a chimney cap
Simply put, if you have any kind of fireplace, you need a chimney cap. Although it may seem like a minor addition to your chimney, a good cap performs a number of key jobs. See if your sweep might recommend a certain type of cap for your chimney — there are many to choose from, and your sweep will likely know which one will work best for you. Here’s why a chimney cap is a must:
Reduces moisture in your chimney lining. One big benefit of a chimney cap is that water and moisture in your chimney will be decreased. Ice, snow and rain all pose big threats to your home, and your chimney is no different. When moisture combines with existing soot and creosote, water can better work its way into cracks and then into the mortar that holds the lining tiles in place. And when this moisture freezes, those small cracks grow a little bigger each time. Eventually, entire tiles may break away and obstruct the chimney. Repairs to fix problems like these are costly. Prevent the flow of water into your chimney, and you can help to rule out these issues.
Help contain burning embers. With no chimney cap in place, embers and sparks are free to flow out your chimney into the wind. Caps that have a spark guard can help to prevent igniting organic material on roofs, in gutters and the surrounding area.
Lockout nesting animals. This is another good reason to get a cap installed on your chimney. All year long, animals will seek out a warm, hidden place to live. And uncapped chimneys have been the preferred nesting space for many wild creatures, from squirrels to birds to raccoons. If these nests get big enough, they can reduce the flow of exhaust out of the chimney. The buildup of carbon monoxide, among other noxious gases, can be easily avoided with the addition of a chimney cap with mesh siding.
And just like that, your chimney’s much safer. You can sit back and relax knowing you’ve done a great job of making your home a little more fireproof. Now that you’re on the way to improving safety at home, this is the perfect time to check in with your American Family Insurance agent. Fine-tuning your coverage to the unique needs of your home and family will bring you real peace of mind this winter as you settle in around the fire and make memories.
This article is for informational purposes only and based on information that is widely available. We believe this information is accurate but do not make any guarantees or promise any results based on this information.