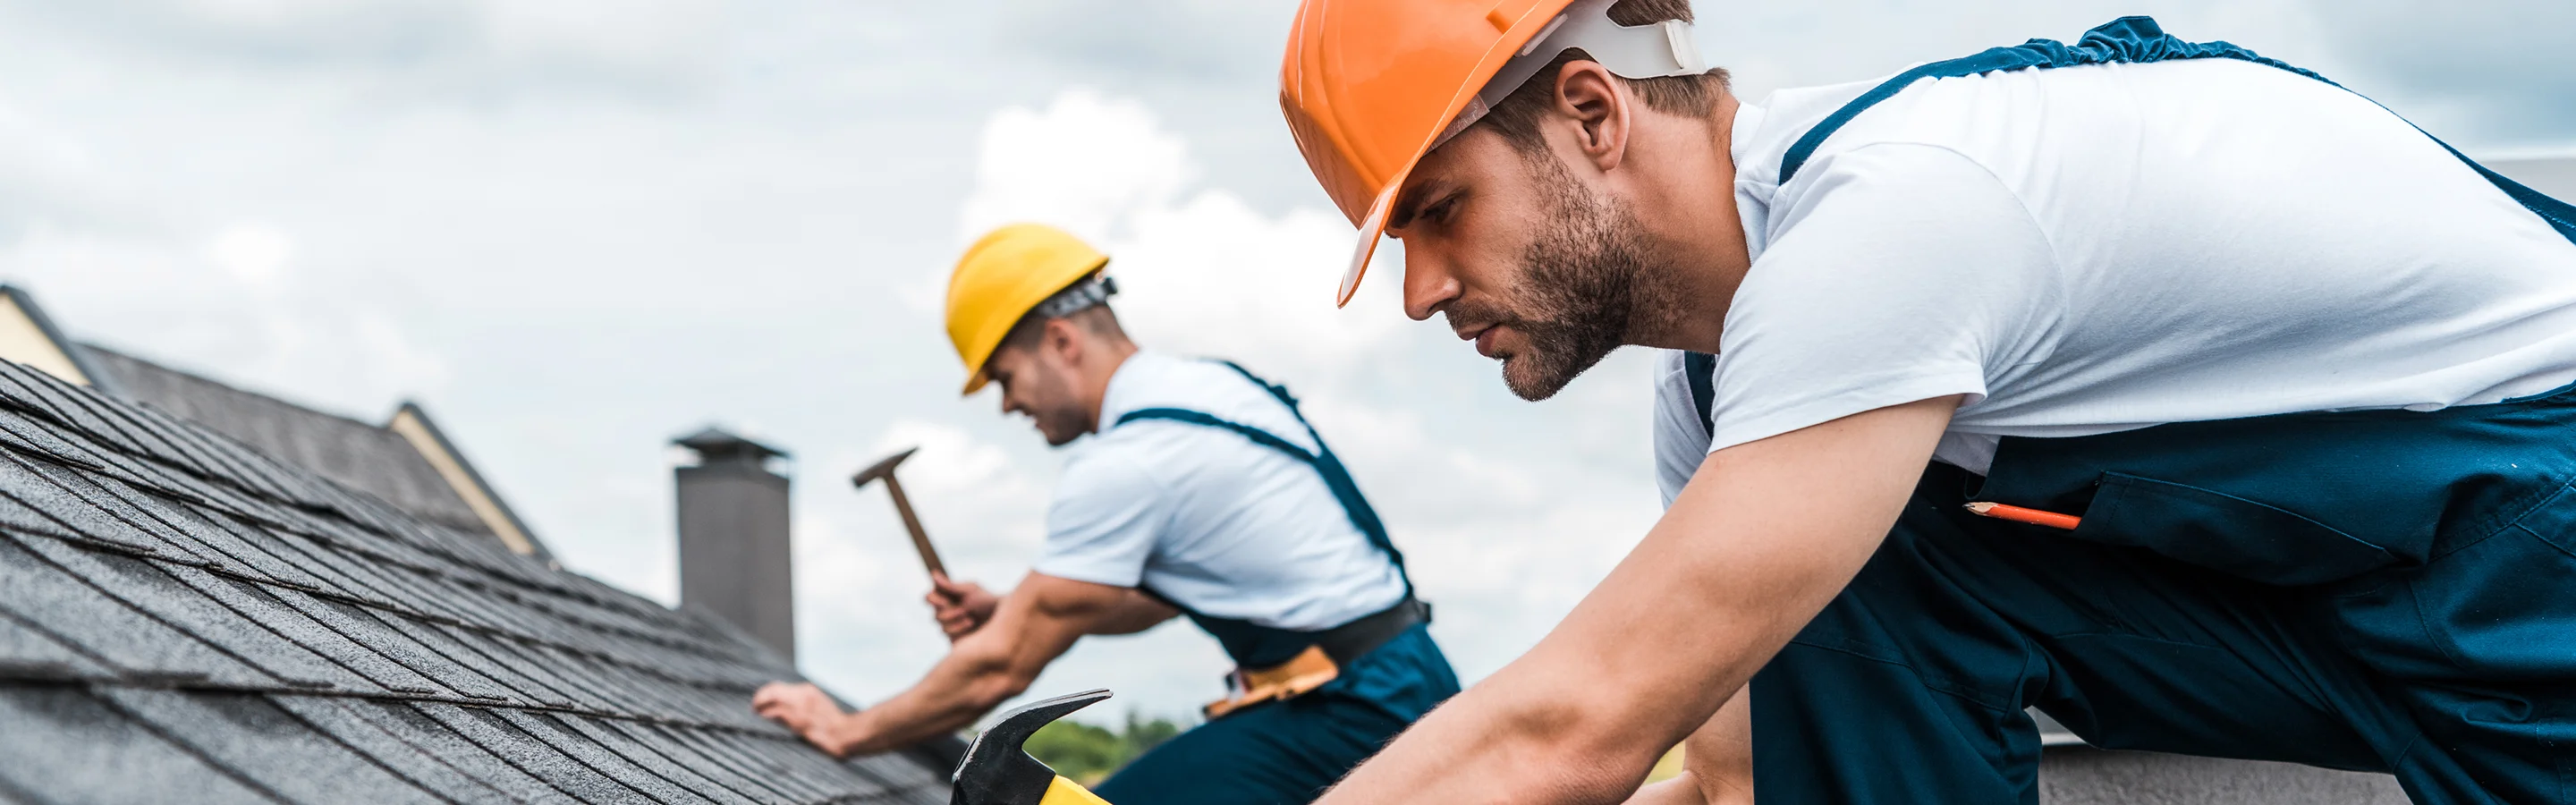
Updated October 5, 2016 . AmFam Team
If you’ve given your roof a good review and decided it’s time for repairs or replacement, the next step is to hire a roofing contractor you can trust. Find peace of mind by asking a few key questions.
Remember, the cost to replace a roof varies according to the market, roofing materials, the roofing contractor, the pitch (or steepness) of the roof, the area to be covered and other factors.
Are you looking for more ways you can take care of your home? Our home maintenance hub has a number of tips and resources to guide you to keep your home in great shape all year long.
If your home, including your roof, is damaged, our homeowners coverage works hard to help you regroup and restore. And if your home isn’t livable while things are being repaired or rebuilt, we may even help cover temporary housing expenses. Take a look at our roof replacement coverage page to learn how your homeowners insurance covers roof damage, and in the meantime, here’s the gist of what you should know.
The answers you need. Have questions about protecting your home with the right coverage? View our home insurance FAQs.
Need to file a claim? Our industry-leading claims service is focused on helping you regroup and restore, with as little interruption as possible. Let's get started.
Want to make sure you have the right coverage for your home and roof? Your American Family agent (Opens in a new tab) is ready to help!
This article is for informational purposes only and includes information widely available through different sources and does not afford or guarantee any coverage.
*Homeowners premiums are based on a variety of factors including roof age, roof material and more, which impacts the rate you are quoted and that you will pay.
**Discount availability and eligibility varies by state and policy terms.
Consider this — your home or apartment is damaged from a small kitchen fire and, not only does your kitchen need repairs, but your home has smoke damage as well. Would you be able to continue comfortably living there while repairs are being made? Probably not.
That’s where insurance for temporary housing comes into play.
Temporary living expense coverage, also known as loss of use coverage or Coverage D, is reimbursement for living expenses when loss of or damage to your home by a covered event forces you to maintain temporary residence elsewhere.
You can use insurance for temporary accommodation in instances such as:
Icicles may give your home a quaint look in winter, but they’re symptomatic of a bigger problem — ice dams. Ice dams can damage your home because they prevent melting snow and ice from draining properly. Ice dams can lead to mold, rot and water leaking into your attic and nearby ceiling. But don’t panic just yet. We’ve highlighted how to prevent and remove ice dams and ways to mitigate damage to your home from ice dams.
What causes ice dams? Ice dams form when attic air becomes warm enough to heat the underside of the roof, which in turn causes the snow on top of the roof to thaw. The melting snow runs down the roof until it hits an eave or roof edge that is below the freezing point. The melted snow refreezes and creates a ridge of ice — an ice dam — which blocks further runoff. As snow continues to melt, it has nowhere to go but up, where it starts seeping under the shingles and into the house.
Ice dams typically form near the edge of the roof when water runs off the warmed roof and then freezes again at the eaves, but this isn’t the only place you’ll find them. They can also form on gutters that don’t drain completely and around skylights because of the less-insulated design.
Ice dams can cause big problems for your home. The weight of these heavy icicles has been known to rip gutters from roofs and cause damage to the shingles on your home. But the damage doesn’t stop there. Damaged drywall and plaster, water-stained ceilings and peeling paint are also the result of ice dam damage.
Ice dams increase the chance of water seeping into your attic and soaking your insulation. This significantly brings down its R-value or its heat-retaining/insulating capacity — and worse yet — it can cause structural damage if left unchecked. Over the years, the effects of ice dams can lead to blistering of the interior and exterior paint. It can also spur the growth of mold and mildew, as well as weaken structural beams and rafters. Take into account the high-cost contractors will likely charge to fix the problem and you’ll begin to understand why it’s wise to take a proactive approach to managing ice dams.
If you suspect that your home has an ice dam, it’s important to first detect signs of ice dam leaks and assess the extent of the damage. It may be necessary to bring in a contractor for an estimate in order to have a solid understanding of how extensive the damage is. In the meantime, here are some DIY ideas to try out:
From the exterior of your home, take a few photos that you can use as a reference to look for signs of water damage on the interior. Look for stains on your ceilings and walls near the position of the ice dam.
Get into the attic and look for water dripping or staining on the rafters and roofing underlayment. It can be helpful to flag these areas so that you’ll be able to locate them later.
See if you can find evidence of ice forming around the base of the chimney, where it meets your roof. If the flashing has come loose or isn’t sealed well, this can be another place where ice and meltwater can do some damage. From inside the attic, review the way heat escapes from around the perimeter of your chimney. If you can see daylight through that seal, take action to seal it up as soon as possible.
The basic principle of preventing ice damns is keeping your roof cold. If your roof is cold, snow won’t melt as fast and an ice ridge will be less likely to form. Keeping your roof cold isn’t always as easy as it sounds, so we’ve got ice dam prevention tips for you.
Ice dams are usually created when the attic is warmer than the air outside. Ideally, the insulation keeps warm air in your home and out of your attic. The venting system in your attic helps keep it cool and hopefully close to the temperature outside. Together, this clever combination keeps snow on the roof from melting — and if the snow doesn’t melt, then ice dams shouldn’t form.
The key to preventing ice dams on roofs and in roof valleys involves increasing ventilation in your attic, adding insulation and sealing air leaks. This is not a quick fix but a permanent correction, so it requires some effort and, most likely, professional assistance. However, the long-run benefits include a roof free of ice dams and a more energy-efficient home. We’d call that a win-win.
1. Increase ventilation. Keeping cold air moving under the roof is the first step toward preventing ice dams. The ridge and soffit vents are designed to do this, but they might require a professional inspection and baffles to improve the flow and provide a clear path for the air.
2. Cap the attic hatch. If you have an unsealed attic hatch, a weather-stripping cap will keep the heat in your home and prevent it from creeping into the attic. Remember, you don’t want warm air coming up into the attic and melting snow on the roof, causing freezing and ice dams.
3. Examine exhaust systems. Most homes have exhaust ducts in the bathrooms, kitchen and laundry room. These vents should all lead outdoors through the roof or walls. If they’re vented to the soffit, you’ll need to have that changed for permanent ice dam remediation.
4. Check the insulation. Check to see if your attic floor needs more insulation. Maintaining this protective barrier at optimum depth helps your home stay warmer and more energy efficient while keeping the cool air in the attic.
5. Install chimney flashing. Do you have flashing, a metal strip that prevents water penetration, between your chimney and the house? If not, it’s time to add it and seal any gaps where ice, water and cold wind can sneak in. Remember, you’re working around the chimney, so using fire-safe products is essential.
6. Caulk leaks. Anywhere electrical cables, vent pipes, satellite dishes and other penetrations occur in the roof, you stand the risk of having gaps and air leaks. Caulk these areas with a fire-stop sealant to keep them as air-tight as possible.
7. Check the ducts. Make sure all ductwork through the attic is properly sealed and insulated. If you have an older home, it pays to check your heating ducts to make sure they’re not bringing excess heat into the attic.
8. Look at the lights. If you have can lights or other light fixtures in your ceiling that are not sealed, you’re releasing heat into the attic. You might also be putting your home at risk for a fire. For increased safety, change these lights to an IC-rated fixture, which allows for direct contact with insulation and insulate over the lights.
9. Add an ice-and-water barrier. If you’re reroofing, it’s time to add an ice-and-water barrier. This is a great layer of protection. While many regions now require it, it wasn’t always mandated, so your home may not have one. An ice-and-water barrier needs to be added under a roof, so it’s cost-prohibitive if you’re not reroofing — but if you are, it’s the perfect time to add it.
10. Keep your roof in good shape. One of the best answers to prevent ice dams is to maintain your roof well and ensure you have enough insulation to keep warm air from getting through. Installing a metal roof with a steep pitch can minimize your risk of leaks caused by ice dams.
While your goal is to permanently stop ice dams, you might need to use a few quick fixes in the meantime. These tips help you stay on top of ice dams and prevent damage to your home.
Use a snow rake. After a heavy snowfall, give your roof a break by raking the snow off. This inexpensive tool pulls down the snow so it can’t melt and refreeze into an ice dam. Only use a snow rake from the ground or your deck, never from a ladder. And be careful not to break shingles, which can be brittle in bitter cold temperatures.
Try calcium chloride. Avoid using rock salt as it can damage paint and metal on your home. But calcium chloride can help melt ice and get water flowing again.
Install heat cables. Mount heat cables along the edge of your roof and through the downspout. That enables snow to melt and run down the proper channels.
Steam it off. If you have an ice dam already and you can see that there is a leak coming into your home, you’ll want to remedy it as soon as possible. Check with local roofing companies to see if they have a steamer that can melt the ice off the roof without damaging your shingles. If it’s too big a job for just you, hire a roofing professional to steam off ice dams.
Not having to worry about ice dams can be a huge relief in the winter months. You instantly free yourself from the immediate issues of a damaged roof and leaks. In addition, your home becomes more energy efficient and comfortable as the air quality improves if moisture isn’t sneaking in and forming mold and mildew.
If an ice dam damages your roof, don’t fret. It’s common for homeowners insurance to cover ice dam damage. American Family’s standard homeowner’s policy covers sudden and accidental damage from leaking roofs and damage from the weight of ice, snow or sleet.
If you have more concerns about your roof insurance coverage or you’d like to learn how your homeowners insurance protects your roof and everything under it, connect with your American Family Insurance agent — they’ve got the answers you need.
Whether your townhouse is a rental, in a condo association or one that you own, you’ll need insurance for it. While homeowners insurance for a townhouse might seem appropriate, there are a few factors to consider before purchasing insurance. If you’re the owner of the townhome and aren’t part of a condo association, homeowners insurance is right for you — but if you’re part of a condo association, you’ll want to look at condo insurance. And finally, if you rent your townhome, go for renters insurance.
Condos and townhomes may seem similar, but they have a few key differences. A condominium is typically a living space, either a townhome or apartment-style space, that is owned by a condo association and has shared common space among residents that their condo association fees pay for. If a townhome isn’t owned by a condo association, it’s not a condo.
Townhomes are typically multi-story buildings that share at least one wall with another townhouse. They look a bit like row houses without easements between the buildings. They can be owned by a condo association, rented from a landlord or owned by individual homeowners.
There generally isn’t such a thing as “townhouse insurance,” so to understand what’s covered, you’ll need to consider your living situation. If you’re living in a townhome that isn’t owned by a condo association, you’ll want to look into renters or homeowners insurance.
If your townhouse is solely yours and not part of a condo association, you’ll need a homeowners insurance policy to help protect your property. Home insurance for townhouses covers the same things that it would for a regular house, including:
You can add other coverages to supplement your homeowners policy that can help cover expenses associated with appliance breakdown, flooding or even identity theft. Learn more about what homeowners insurance can help protect.
If your townhouse isn’t part of a condo association and you’re renting it, renters insurance can help you protect your personal property in the event of an accident or theft. Renters insurance for a townhouse can help cover things like:
Even when you’re away from home, your renters insurance follows you wherever you go.
Condo association policies typically only cover common areas and the exterior of the building you live in, although some will cover the interior — but only in its original state. To be sure your personal property and any updates to the interior you’ve made are protected, like granite countertops to replace the original vinyl, you’ll want to get your own condo insurance policy.
Condo insurance coverage helps protect the things not covered by your condo association’s insurance policy. This includes personal property and personal liability coverage, which can help cover expenses if someone is injured on your property. Even if your condo association insurance policy covers some things that a condo insurance policy might, you should consider condo insurance to take care of any gaps in coverage.
If you need help assessing your townhome to understand the right type and amount of protection you need, connect with your American Family Insurance agent. They can help you figure out if you need condo, renters or homeowners insurance and what kind of additional coverages you need to protect what matters most.
The humidity levels in your basement can impact your home and everyone living inside. It can also affect your valuables, electronics and appliances. In this article, we'll discuss ideal basement humidity levels. We'll also give tips to help you address, monitor and manage moisture in your basement.
Ideal basement moisture levels are between 30 - 50%. Anything below 30% is too low and can lead to structural changes in your home, causing gaps between windows and doors. Aside from health issues, insufficient moisture levels can also cause wood floors to creak and damage your belongings.
Moisture levels above 50% can lead to mildew, mold and bacteria growth. That environment can cause serious health issues. Excessive moisture can also damage walls and carpets, causing your home and belongings to rot.
One of the best ways to address basement humidity levels is to manage the moisture at its source. While consulting with a professional is always helpful, you can start your search using the following methods.
Gaps and cracks in windows, doorways and walls can cause excess moisture to collect in your basement. Sealants like caulking and weatherstripping can help close the gaps and fix the issue.
If your sump pits and drains are not airtight, the excess moisture from the pipes can create a humid environment. Maintaining your basement's vents and sump pump can help you manage moisture levels. Consider getting it checked by a professional once every three to four months for optimal performance.
Leaking pipes, washing machines and water heaters can affect your basement's humidity. They can also cause other issues, such as a spike in your utility bills.
To spot them, look for wet spots, rust or condensation around these areas. Beyond helping you maintain healthy basement humidity levels, it helps you catch costly leaks early.
Clogged gutters can pool rainwater and melting snow around your home’s foundation. Consider positioning gutter spouts to draw water away from your home. Additional outside water can saturate your basement floors and walls, increasing moisture levels.
Some humidity issues are more severe than others. However, there are several accessible tools you can use to maintain appropriate moisture levels in your basement and home. Consider the following tips.
Several dehumidifier types, such as refrigerant, desiccant and whole-house ventilation systems, are available. They can help you manage moisture levels in your entire home, a single room or a crawlspace. All serve one purpose: To remove excess moisture from the area.
Before purchasing yours, consult an expert. They can help you find a suitable model and size that best addresses the humidity in your basement.
Another excellent way to manage your basement's humidity levels is to keep it well-ventilated. Installing an exhaust fan is a great option if you can't accomplish that naturally.
An exhaust fan should be installed in a window or exterior-facing wall to draw the moist air away from your basement. As a bonus, exhaust fans can circulate the air, which helps control unwanted odors.If you need a fast-acting, inexpensive, moisture-removing option, chemical absorbers, such as silica gel, may be able to help. They're typically sold in home improvement stores and can be placed in other parts of your home as well.
A humidity monitor can help you track your basement's humidity levels. Some dehumidifiers and exhaust fans come with them built in. You can also buy a stand-alone model that hangs on your wall.
Water leak detectors help you catch leaks early and boast a variety of capabilities, such as sending real-time alerts to your phone.
You can install them on sinks, appliances and water heaters. Getting one may also qualify you for our smart home discount.
Our standard home insurance may help protect you from sudden, accidental water damage. Qualifying events may include burst pipes or broken-down appliances.**
If you want more protection from unexpected losses, talk to your American Family agent about the following coverages:
*Coverage provided by adding the Inland Flood optional endorsement. This endorsement does not satisfy mandatory flood insurance coverage should it be required by your federally regulated lender for your home mortgage or loan. This insurance product is not affiliated with the National Flood Insurance Program (NFIP). Please check with your agent and read the policy and endorsements for exact details on coverage limits and exclusions. Coverage applies after the property deductible has been met.
*This information represents only a brief description of coverages, is not part of your policy, and is not a promise or guarantee of coverage. If there is any conflict between this information and your policy, the provisions of the policy will prevail. Insurance policy terms and conditions may apply. Exclusions may apply to policies, endorsements, or riders. Coverage may vary by state and may be subject to change. Some products are not available in every state. Please read your policy and contact your agent for
**Hidden Water Damage coverage is an optional coverage. May not be available in all states. Some restrictions apply to seasonal homes and manufactured homes. The leak must occur from within a plumbing, heating, A/C, fire sprinkler or a home appliance. Refer to your policy documents for coverage limit details. Coverage applies after the property deductible has been met. Mold damage limited to coverage limits provided by your homeowners policy.
†American Family Insurance is a participating company in the National Flood Insurance Program (NFIP). NFIP is managed by the Federal Emergency Management Agency (FEMA), a component of the U.S. Department of Homeland Security (DHS). Flood insurance is a separate policy underwritten by NFIP.