Fire extinguisher maintenance and inspection
Updated June 4, 2021 . AmFam Team
Updated June 4, 2021 . AmFam Team
If you’re like most homeowners, you want to make sure your home is safe. With the installation of smoke and carbon monoxide detectors, you may find some peace of mind knowing that you’ll be warned if something should happen.
Although you don’t know when you’ll need to use a fire extinguisher, you’ll probably want to know that if you’ve got a fire to fight, it’s going to work and hopefully put out a fire. That’s why it’s key to check in on the fire extinguishers around your house every month. Take a look at these important notes on fire extinguisher maintenance procedures to help ensure that your fire extinguishers are charged and ready to go at a moment’s notice.
Once in a while, accidents happen, and something breaks. That’s why it's important to circle back with your fire extinguishers every month. And with a monthly fire extinguisher inspection log, you’ll get in the habit of verifying that your fire extinguishers and smoke alarms are in good working order. Set a monthly reminder in your phone’s calendar for a Saturday morning to check in on them to ensure they’re working.
Most household fires can be fought with B-class extinguishers which are designed to put out combustible fluids like gasoline, oils and paints. But depending on the types of combustible materials found in and around your home, you may need a different kind of fire extinguisher positioned nearby if something should happen. Here’s a list of the types of fire extinguishers and the types of fires they can put out:
Fire extinguisher type | US system of fire classification by fuel type |
|---|---|
Class A | Combats fires burning by wood, paper, fabric and garbage |
Class B | Fights fires from flammable liquids, inhibits chain chemical reactions with Halon or another dry chemical |
Class C | Fights fires from flammable gases, inhibits chain chemical reactions with Halon or another dry chemical |
Class D | Helps to extinguish fires from flammable metals |
Class K | Fights fires that result from cooking oils and animal fats by removing oxygen or water mist |
After purchasing a fire extinguisher, be sure to review the user guide and instructions on how to use the extinguisher. They vary slightly from one to the other, and you may find that specific fire extinguisher inspection requirements and maintenance instructions can help you to increase its lifespan. It’s also likely that instructions on mounting it to a wall will be specific to the unit.
A key strategy in combating any fire is the ability to respond quickly. Affixing the fire extinguisher to the wall near potential fire sources can aid in putting out a small fire before it’s out of control. Consider mounting clearly visible fire extinguishers in these areas of your home:
Chimney fires can flare up without much warning. It’s key to have an extinguisher centrally located in your living room to combat sparks and other creosote-related issues when fireplaces are present.
There’s a lot to look at when reviewing the condition of an extinguisher, and a great way to keep tabs on its upkeep is by reviewing the inspection tag. This tag will usually be hanging around the neck of the extinguisher, if it comes with one. If not, tie a small piece of cardboard onto the extinguisher and write your notes on that. It’s a great way to quickly jot down the inspection date and a few notes on the condition of the extinguisher. By reviewing the fire extinguisher inspection tag date, you’ll know when the unit was last reviewed.
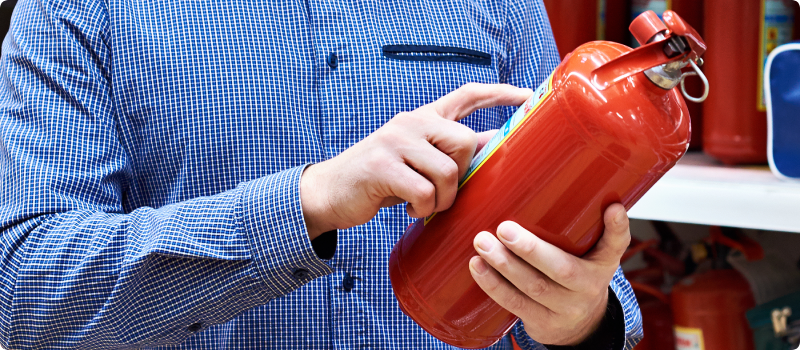
Optimal performance of an extinguisher is key to combating a fire. If the extinguisher is not optimally charged, it may not operate well — or at all — like if you need it to extinguish a grill fire, for instance. That’s why fire extinguishers must be inspected and recharged if necessary. Here’s what you need to know about your fire extinguisher’s charge (or pressure) gauge:
Each part of the extinguisher plays an important role, and they all work together to help you deal with fires and knock them out quickly. The hose and pin are two key components that help to direct the chemical spray and prevent accidental discharge. In most cases, you’ll need to pull the safety pin to discharge the chemical, then point the hose at the fire before squeezing the handle to release the fire-fighting chemical.
If you find cracks in the hose, or if it’s too brittle to bend easily, get it replaced. Be sure the pin is securely tied to the extinguisher with a safety tether, if one was included originally. If the tether is missing, there’s a chance that the extinguisher has been used and the canister may not be completely full.
When inspecting the extinguisher for damage, look for dents in the gas canister first. Scratches and divots in the paint can mean that it’s suffered a fall and may be leaking slowly. Rust around the seal between the canister and the neck can be another symptom of trouble.
After you’ve thoroughly reviewed the condition of the fire extinguisher, be sure to update the inspection tag with today’s date and any notes to keep an eye out for next month. That way, you’ll be able to track issues if they progress over the year.
It may seem hard to justify, but if you’ve found a fire extinguisher has expired in your home, it’s best to replace it promptly. There are good reasons to change out an expired extinguisher, but one key reason is that it may no longer perform reliably after its expiration date.
Seals fail over time, and internal hardware can degrade to the point where it may not operate when needed to. If you’re wondering how to find the expiration date on your fire extinguisher, look for a date stamp on the inspection tag first. You can also look for a date stamped on the cylinder’s body. Check the manufacturer’s website for details on locating the fire extinguishers expiration date.
Disposal of fire extinguishers needs to be approached with care. Because the cylinders are under pressure, they need to be discarded at an authorized hazardous waste disposal facility. Call your local fire station to learn if they accept expired, full or partially charged extinguishers. Even if they don't accept them, they may be able to direct you to a nearby disposal center.
Keeping your home safe is an important part of protecting your family and your investment. Work with your insurance agent to create a custom homeowners policy crafted to fit your needs and budget. With a strong policy comes peace of mind in the event of a house fire.
This article is for informational purposes only and based on information that is widely available. We believe this information is accurate but do not make any guarantees or promise any results based on this information.