Frozen Pipes in Warm Climates

How to Prevent Pipes from Freezing

Updated October 5, 2018 . AmFam Team

Before freezing temperatures arrive, be proactive — and get peace of mind — by finding the best way to keep your pipes warm this winter. Follow our tips to prevent your pipes from freezing this winter.

The season is changing and winter is on its way. And with the cold temperature it brings, some potential troubles could follow — among them, freezing and busting pipes. Take these tips into consideration, though, and you’ll be more than ready to prevent your pipes from freezing and keep water flowing this winter.


Freezing and Bursting Pipe Basics

Even in warm states, winter weather can freeze water pipes. Many states will experience these types of temps at least once or twice each winter.

When pipes freeze, pressure builds and could result in them bursting at their weakest point, potentially causing water damage to your cozy home. Pipes in attics, crawl spaces and outside walls are particularly vulnerable, especially when they’re subjected to extra cold air coming through utility line holes.

What temperature do pipes freeze in a house?

We all know that freezing begins at 32° F or 0° C, but at what point do pipes freeze within our own homes?

Temperatures only need to drop to about 20° F for a few hours to put exposed pipes at risk. So, your best bet is to insulate your exposed pipes to keep that temperature well above the freezing point.

This is just one quick tip, below we’ll fully answer the question of how to prevent pipes from freezing.

The 9 Best Ways to Keep Your Pipes from Freezing

The key to keeping your pipes away from freezing temperatures this isn’t reaction — it’s preparation. Check out these tips on how to help you prevent the risk of your pipes even coming close to freezing temperatures.

1. Cover exposed pipes with insulation sleeves

Insulation sleeves, usually made of foam and found at just about any hardware store, are cheap ways to surround your pipes with warmth and keep them from freezing in the cold temperatures. They’re affordable and easy to install, making them an excellent alternative to paying thousands of dollars to fix a frozen and burst pipe.

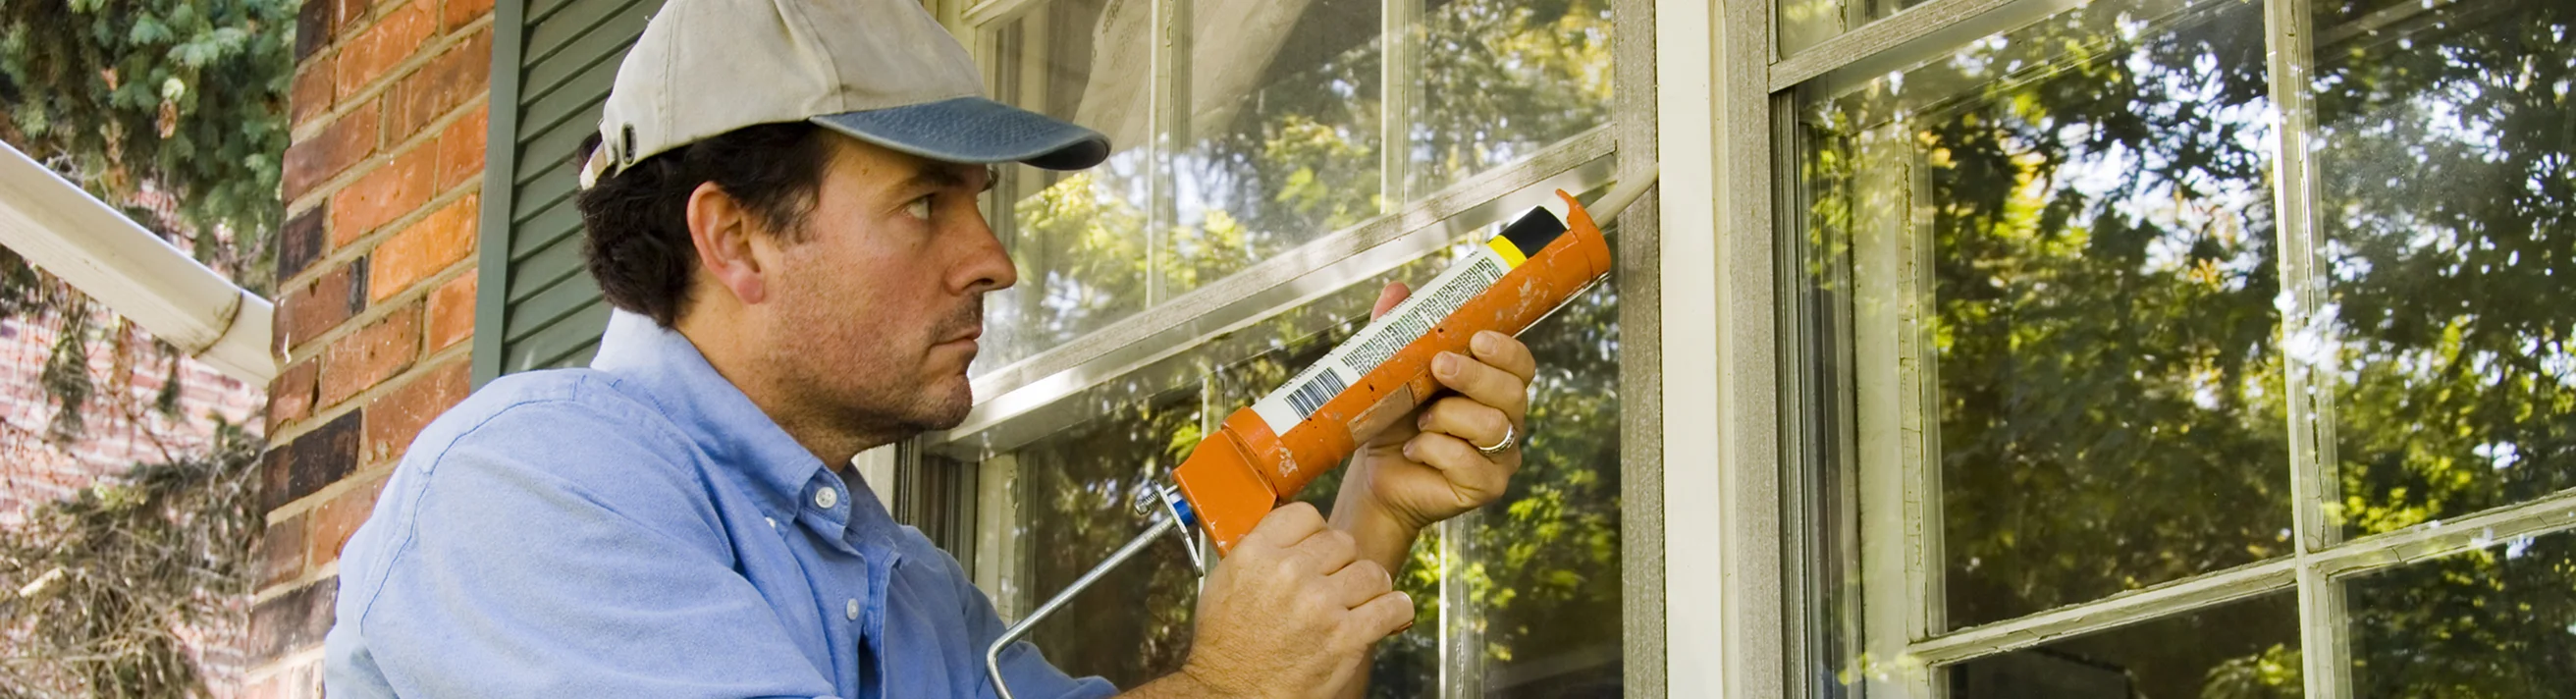
2. Seal cracks in the walls that let cold air in

A small crack in your wall that lets in a small account of cold air might not seem like a big deal but add all those little cracks together and you’ll find out that they’re costing you quite a bit of money on your heating bill and doing damage to your pipes, too. Use weather stripping to stop the air from getting in and consider picking up a couple of draft stoppers for your doors to the outside. They’re both easy to install, help prevent your popes from freezing and even easier to remove come springtime.

3. Turn off and empty outdoor faucets

A pipe without water in it won’t be able to freeze or burst, so make sure you turn off any outdoor faucets. After shutting them off, open the faucet to drain any remaining water. While you’re at it, disconnect and store any hoses you might have left outdoors so they don’t become damaged by the freezing temperatures.

4. Keep cabinet doors open below your sinks to allow warm air in

The pipes under your sink probably aren’t insulated, and the doors block the heat from other parts of your home from getting to them, which may make your pipes freeze. If you have children or pets, make sure you remove any hazardous chemicals or cleaning materials before leaving the cabinets open.

5. Pay attention to pipes in unheated areas of your home

Pipes in your attic and basement run a higher risk of freezing than your main-level pipes, so make sure to take all tips into consideration and pay special attention to those areas.

6. Keep your garage doors closed

Not only will closing your garage doors keep critters and intruders from getting into your stuff, but it’ll also keep your garage warmer and add an extra layer of protection to stop any pipes from freezing in your garage or along its walls.

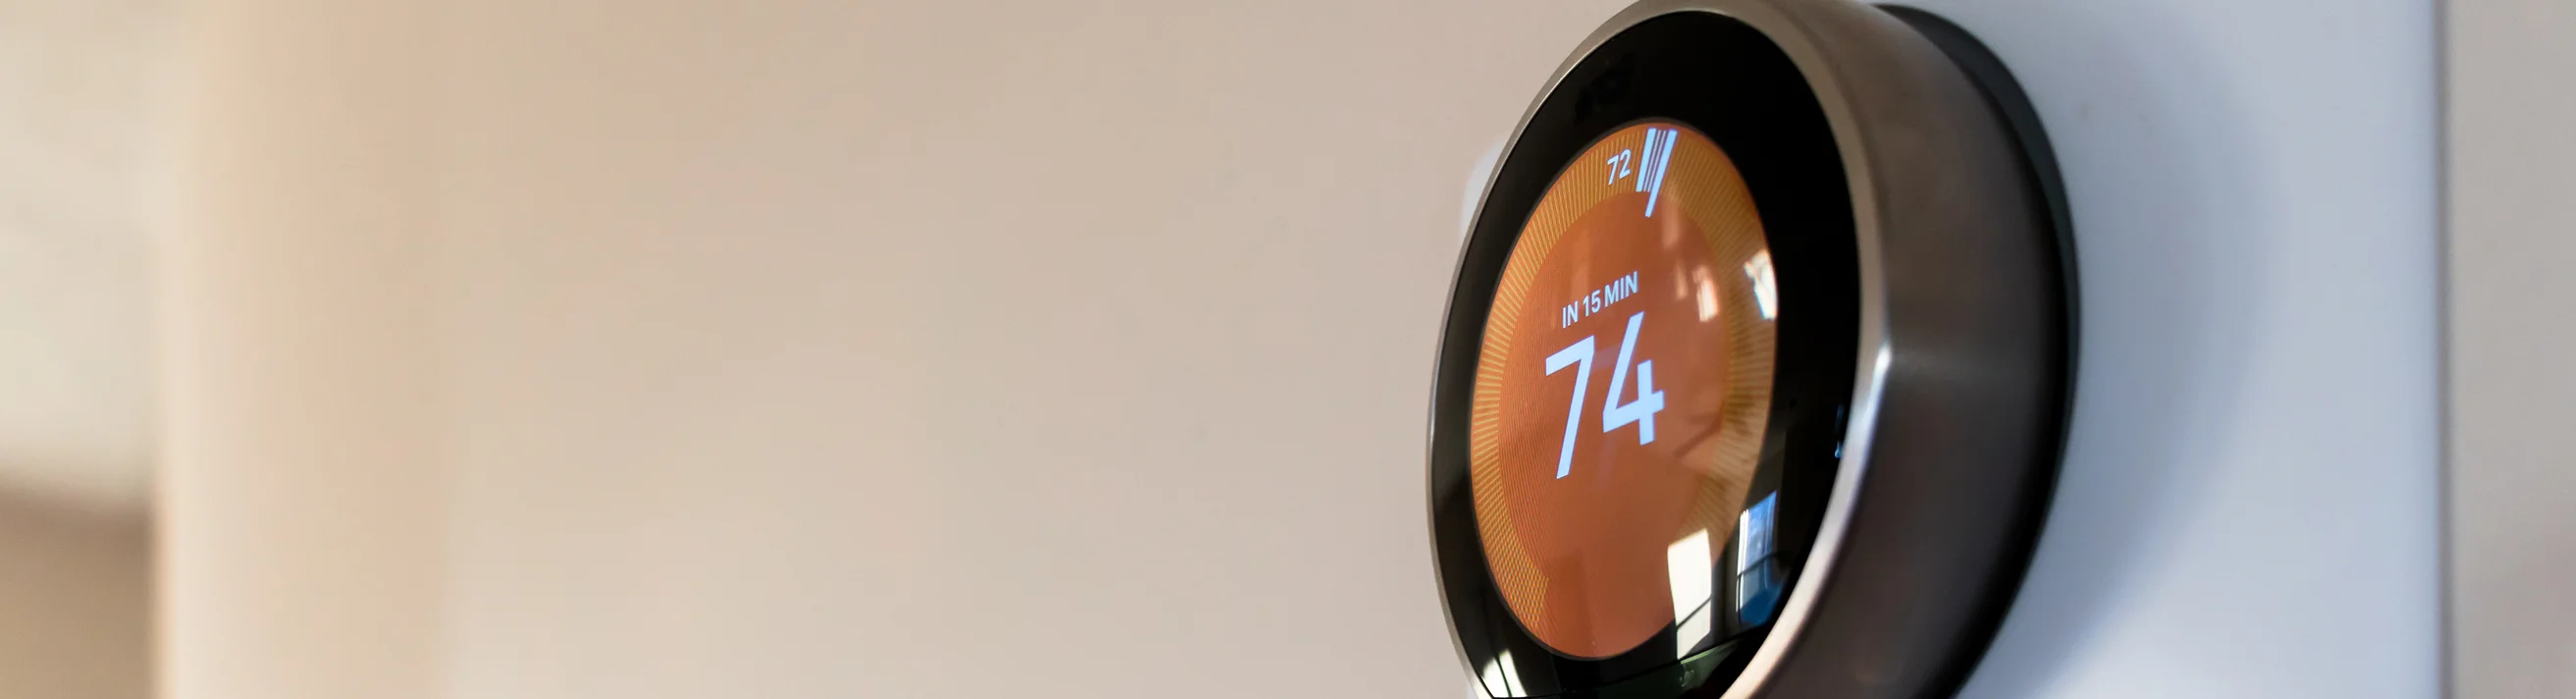
7. Keep your home’s temperature the same day and night

While you can save some money by lowering your home’s temperatures while you’re not there (or by letting a smart thermostat do it for you), you can feel better about your pipes staying in good condition if you keep your home at a steady temperature day and night.

8. Open up interior faucets

If a cold snap is fast on the way and you don’t have time to take all the previous recommended steps, you can still help prevent frozen pipes with a simple turn of the faucet handle. Open your faucets just slightly to allow a small flow of water. Moving water is less likely to freeze, and it relieves excess pressure that builds if freezing does occur.

9. Winterize your other property, too

Your home isn’t the only building where pipes can freeze and fall victim to the cold weather. If you have a vacation home, rental property, detached garage, shed or other type of building, take the same precautions you would with your home to prevent an expensive and messy situation later on.

What to Do If Your Pipes Have Already Frozen?

If your pipes have already frozen and burst, the key to mitigating the damage is acting quickly and carefully. Before the winter ever hits, though, it’s worth contacting your American Family Insurance agent (Opens in a new tab) to go over your homeowners insurance and make sure you policy is set up to protect you in the event of the unexpected.


This article is for informational purposes only and includes information widely available through different sources.

Related Articles

Related article test
  • Woman sitting at table writing a home inventory for homeowners insurance.
    Woman sitting at table writing a home inventory for homeowners insurance.
    9 Steps to Create a Home Inventory for Insurance Claims

    Your home is more than a roof over your head. It’s where your dreams grow, your family thrives and memories are made. But the possessions you keep inside are important, too.

    Whether you’re renting an apartment or own your home, you’ve most likely got an insurance policy designed to protect your dwelling and the things inside. Should the unthinkable happen and you have to use that insurance policy, it’s important to have a plan in place. And a home inventory list is a great way to get started!

    We’ll walk you through how to create a home inventory so — in the event of the unexpected — you’ll be more prepared and have a streamlined recovery.

    What Is a Home Inventory?

    Quite simply, a home inventory is a complete list of all the items, especially valuables, in and around your home. The best home inventories include photos, descriptions and dollar values of each of your belongings. The more detail, the better! It’ll help you provide a comprehensive list to your agent of items lost in the event your home is damaged or destroyed, allowing you to get the most out of your coverage.

    When your describing the items in your list, remember that the more information, the better. Here’s a quick reference list of the type of information you should include in your home inventory list:

    • An in-depth description of the items. For example, rather than writing down “diamond ring,” be more descriptive, such as: “an emerald cut diamond ring, with white gold shank, accent stones and initials inscribed below the bridge.”
    • Make, model, and/or serial number of the items.
    • Date of purchase, receipts and photos.
    • Estimated replacement cost if you bought it today. Do note that the value of the items might be different today than it was when you first bought them. This is especially true with jewelry, and other valuables.
    • Appraisals at time of purchase. Especially if your items were appraised for insurance purposes.

    Why Do I Need a Home Inventory?

    Whether you’re a homeowner or a renter, everyone can benefit from a home inventory!

    If you ever have to make a claim, a home inventory is a great asset to have, especially after stressful events like theft, storm damage or a fire (take a look at how one renter used their home inventory after facing an apartment fire).

    When you make a claim, you typically submit information on everything that was lost — which can be difficult to do off the top of your head for all your possessions. Remembering to replace your TV or computer are no-brainers, but when it comes to remembering each piece of jewelry in your jewelry box, things tend to get overlooked. Having a personal property inventory will help, along with knowing how to properly insure your jewelry.

    When you have your home inventory checklist, you know exactly what needs to be replaced, and you’ll have peace of mind knowing your entire household is protected.

  • A row of houses in a neighborhood with storm clouds that will bring strong rain and roof leaks behind it.
    A row of houses in a neighborhood with storm clouds that will bring strong rain and roof leaks behind it.
    Reasons Why a Roof Leaks

    You’re admiring the rain from the comfort of your home when you notice a sound — the unmistakable drip of water dropping onto your floor. The first and hardest step is figuring out why your roof is leaking. And with these tips, you’ll find the culprit in no time!

    Here’s Why Your Roof Is Leaking

    The list of reasons why your roof is leaking may seem long, but don’t worry — when it comes to finding the leak and fixing it, the finding is the hardest part. And the good thing about these problems? They can all be fixed. Check out the list and see what’s troubling your roof:

    Your roof is old

    Roofs don’t last forever. Protecting your home and everything inside it from the elements comes with a cost. And with all that rain, snow, ice, wind and even sunlight wearing down your roof, it becomes more susceptible to leaks. Every roof will eventually need to be replaced, so learn more about how long your roof should last based on what it’s made of.

  • A home with a wet roof after a storm.
    A home with a wet roof after a storm.
    How to Check Your Roof for Storm Damage

    There’s no good time to find out your roof needs repair — but you may be able to mitigate that pain by routinely checking your roof for damage after severe weather. Waiting for a leak or damage to present itself gives the problem time to grow and worsen.

    And sometimes, you’ll be faced with expensive roof and interior damage repairs if you’re not diligent. By being proactive and checking your roof for damage after severe weather hits can help your roof — and your savings — stay healthy.